The set up process for frame and cardboard looms is one of the main advantages of using this type of loom. Unlike larger looms, you can start weaving pretty much straight away by winding the vertical warp strings on to the loom directly. Follow these steps and you will be weaving in no time!

Laser-cut and cardboard frames
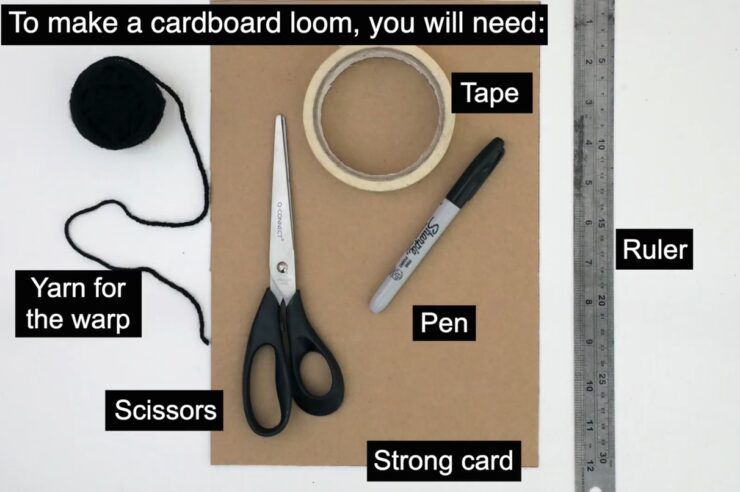
To warp a cardboard loom, you will need:
Scissors, tape and strong yarn for the warp strings.
Step 1
Decide how many warp strings you would like – some patterns have a specific number of warp strings needed. Tape down your chosen warp yarn to the back of the loom. A good tip is to test the strength of the yarn by giving it a pull. If it doesn’t break, it’ll make a good warp yarn…
Step 2
Wrap the yarn around the loom so that it slots into each of the gaps that run directly up and down from each other. Wrapping 1 yarn per dent will produce a ‘gappy’ warp, 2 yarn strings per dent will produce a dense warp.
Step 3
When you have the desired number of warp strings, tape down the end to the back of the loom. You now have a warp set up and ready to weave!
To warp a wooden frame loom, the process is slightly different…
Instead of taping down the yarn, knot a loop and latch it on to one of the points. Unlike the cardboard loom, you will not wind the yarn around the back – you will have all of the warp strings at the front by latching the string around the points. Remember you can still choose between 1 or 2 gaps per dent to produce ‘gappy’ and ‘dense’ warps…